

Engineered for Clarity
From parsing your project anchor guidelines to sending production source files, every step of our studio pipeline is optimized for premium speed and accuracy.
Step one
Step 1: Choose a Service
Begin by selecting the professional design layout, tracking option, or production tier that aligns with your active goals. You can opt for specific package parameters or present your own low-res file references, custom dimensions, and deadline objectives so our studio can evaluate the geometry perfectly.

Step two
Step 2: Define Asset Scope & Formats
Fine-tune your technical setup by identifying the target configurations required for your asset files. This involves choosing preferred scalable vector extensions (.AI, .EPS, .SVG), corporate formatting scales, print-ready profiles, matching typography sets, or extra fast delivery benchmarks.

Step three
Step 3: Secure & Lock Order Details
Verify your chosen service modules, custom project notes, price aggregates, and timeline milestones before confirming deployment. Once you lock in and execute payment, our independent pipeline directly triggers vector engineering pathways to start path plotting.
Step Four
Step 4: Evaluate & Approve Pack
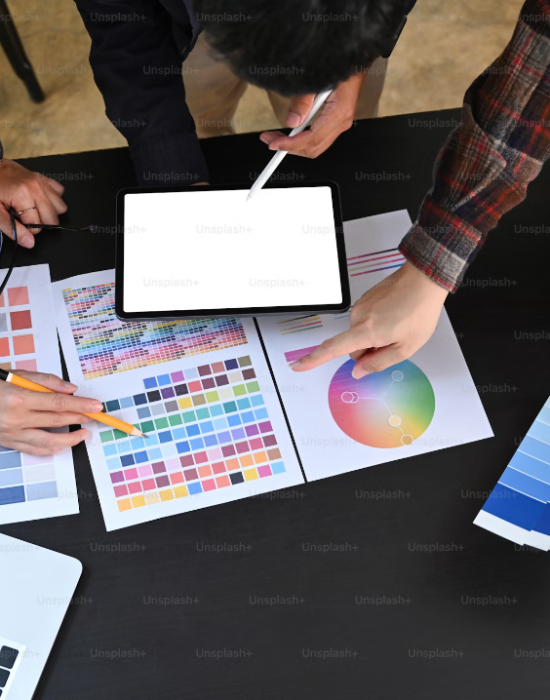
As soon as the initial precise structural graphic layout is fully engineered, we host the package for your analytical review. You are free to examine line curvature, alignments, palette syncs, and text treatments. If your contract covers adjustment stages, revisions are integrated instantly prior to packaging.
Final Step
Absolute Aftercare Support
Following delivery sign-off, our studio maintains complete post-completion channels to ensure seamless file integration. This includes helping you navigate vector scaling layers, minor post-delivery tweaks, color conversion protocols, or setup troubleshooting to deploy your graphic layout across digital or print mediums flawlessly.